Tuesday, December 3, 2013

A Holiday Apron for Mrs. Santa Claus


It's beginning to look a lot like Christmas at my house and the North Pole. Mrs. Santa is planning some great holiday entertaining so she can show off her new apron. You can too if you use my newest pattern to make your own holiday apron.  You can purchase "A Holiday Apron for Mrs. Santa Claus" in my craftsy pattern store. Click above or on the photo to get there.

The apron is trimmed with knit fleece at the neckline and ruffle. I took advantage of the stripe and cut the bib and ruffle with stripes running horizontally. However, you can cut it as one piece instead of two, using the pattern pieces provided in the pattern. You can use a stripe, a solid, or other holiday print of your choice. You can also eliminate the ruffle if frilly isn't your style. Directions are included for both versions with clear step-by-step illustrations and photos Pretty pearl buttons and buckle (or gold or silver if you prefer) add the final finishing touches. The one-size pattern will fit most. Why not make two while you're sewing--one for you and one to give away.


Use it for Holiday Decorating


 I posed the finished apron on my antique dress form and decided it made a  great holiday decoration for my sewing room. I don't use my project photo  samples, so I'll tuck the apron away with my holiday decorations when I  "untrim" my tree. I hope to finish decorating today. It's taking me longer due  to my back injuries, but it's a labor of love. I just have to pace myself!

This year I am looking at every ornament before hanging it and if I don't truly "love it," I am setting it aside to share with my grandbabies (now 3 and 5 and not really babies). They will be here in a few days to help decorate the small tree I bought when Kendall was a year old. It will be fun to watch them put the ornaments in their just right place!

In case I don't get back to blogging until after the holidays, I hope yours are cheery and bright, filled with laughter and love! The New Year is just around the corner and I have lots of ideas waiting to stitch and share!

Until next time,
Keep on sewing, quilting, and crafting!
Barbara

Wednesday, November 20, 2013

Make a Jingle Trees Christmas Apron...

...just like this one my Grandma made! She made lots and lots of aprons in the 1950s for family and for her church bazaars. I can't remember ever seeing her without an apron. She loved to cook and she really loved sweets, so I could always count on cookies at her house. And when we moved a thousand miles away, we knew there would be a big box of grandma's sweet treats in the mail for Christmas! So, this pattern is a tribute to her. 

Not too long ago, my dear Mom called to ask if I wanted some of the linens from her hope chest. Of course I said yes, but I didn't know that Grandma's sweet Christmas apron would be in the box too. I just couldn't resist reviving the pattern for my readers at this special time of year. I don't have many of Grandma's things so it was a special surprise to receive it from Mom.

In tribute to Grandma's love for sweets, the pattern includes my favorite recipe for decorated sugar cookies. What fond memories this apron evokes of my loving and selfless Grandma!

There's still time to make one of these aprons for yourself to wear during the holidays. Like this and all of my patterns you'll find the PDF downloadable pattern in my pattern store at Craftsy.

Until next time,
Have fun stitching, quilting, and crafting!
Barbara

Saturday, November 16, 2013

Another New Mug Rug Pattern

I just might be addicted--to mug rugs. During the past month, I've designed many and completed 11 patterns. They are such fun to design using Electric Quilt 7, and they're so fast to make--talk about a little piece of instant gratification! I'm pleased to announce that my Turkey Time Quilted Thanksgiving Mug Rug has just joined the holiday parade in my pattern shop at www.craftsy.com.


Because mug rugs remind me of a nice cup of hot coffee, and coffee is always better with a sweet treat, this new pattern also includes two of my favorite harvest-time recipes: Streusel-Topped Pumpkin Pie and Easy Pumpkin Walnut Muffins. So grab your scrap box, search your fat quarters, and stitch up a batch of these fun mug rugs for your holiday table or to give as gifts. Then try one of my favorite recipes for Thanksgiving-time treats. Enjoy!


Until next time,
Keep sewing, quilting, crafting, and smiling!
Barbara

Monday, November 11, 2013

The Trouble with Quilted Mug Rugs...

Just like you can't eat just one potato chip, you can't make just one mug rug. They're fun, cute, easy, and quick to make. I was a little late with Halloween so I bypassed Thanksgiving (for now) and skipped right on to Christmas. With over eight new designs from which to choose, I settled on making my three favorites and have grouped them together in a single pattern. Check out Santa and His Helpers at my craftsy store: http://www.craftsy.com/user/153303/pattern-store

 Santa & His Helpers


If you prefer, the mug rugs can become oversize ornaments or package gift tags by adding a ribbon tie to the upper edge as shown in the photo of Rudy' Red Nose, above right. Or, if you use a muslin backing to cover the batting and the quilting stitches, you can write a holiday message on the back and add other "artsy" embellishments with stamping, doodling, etc. Pop them in envelopes to send to friends who will appreciate your handiwork.

Simply Santa is just that--really simple to stitch up in a hurry. Use poly felt for the beard, mustache, and hat trim and do free-motion quilting in the beard to simulate Santa's curls. For his hat, choose two red fabrics to help differentiate the two pieces. Add a white pompom to the tip of the hat.


Rudy's Red nose, as shown, is an applique enhanced with a flat button. When adding embellishments, make sure they won't interfere with your mug, if you're planning to use these as mug rugs.


Alfie the Elf looks like he's a little unhappy--maybe he's a little overworked! It's all in the shape of the mouth! Make it smaller and turn up the ends a little more when you stitch his mouth for a cheerier demeanor. Flat buttons replace appliques on Alfie's hat and shirt.

All three mug rugs are set up for fusible applique. The pattern includes full-size applique placement guides and reversed images for fusible applique. Use up scraps and cut into your fat quarters for these fun mini quilts. They are wonderful scrap buster projects and give almost instant gratification.

Set yourself up to sew multiples and you'll have a set or two done in no time. Check out the section on Assembly Line at a Glance in the pattern. 

No Time Like the Present...

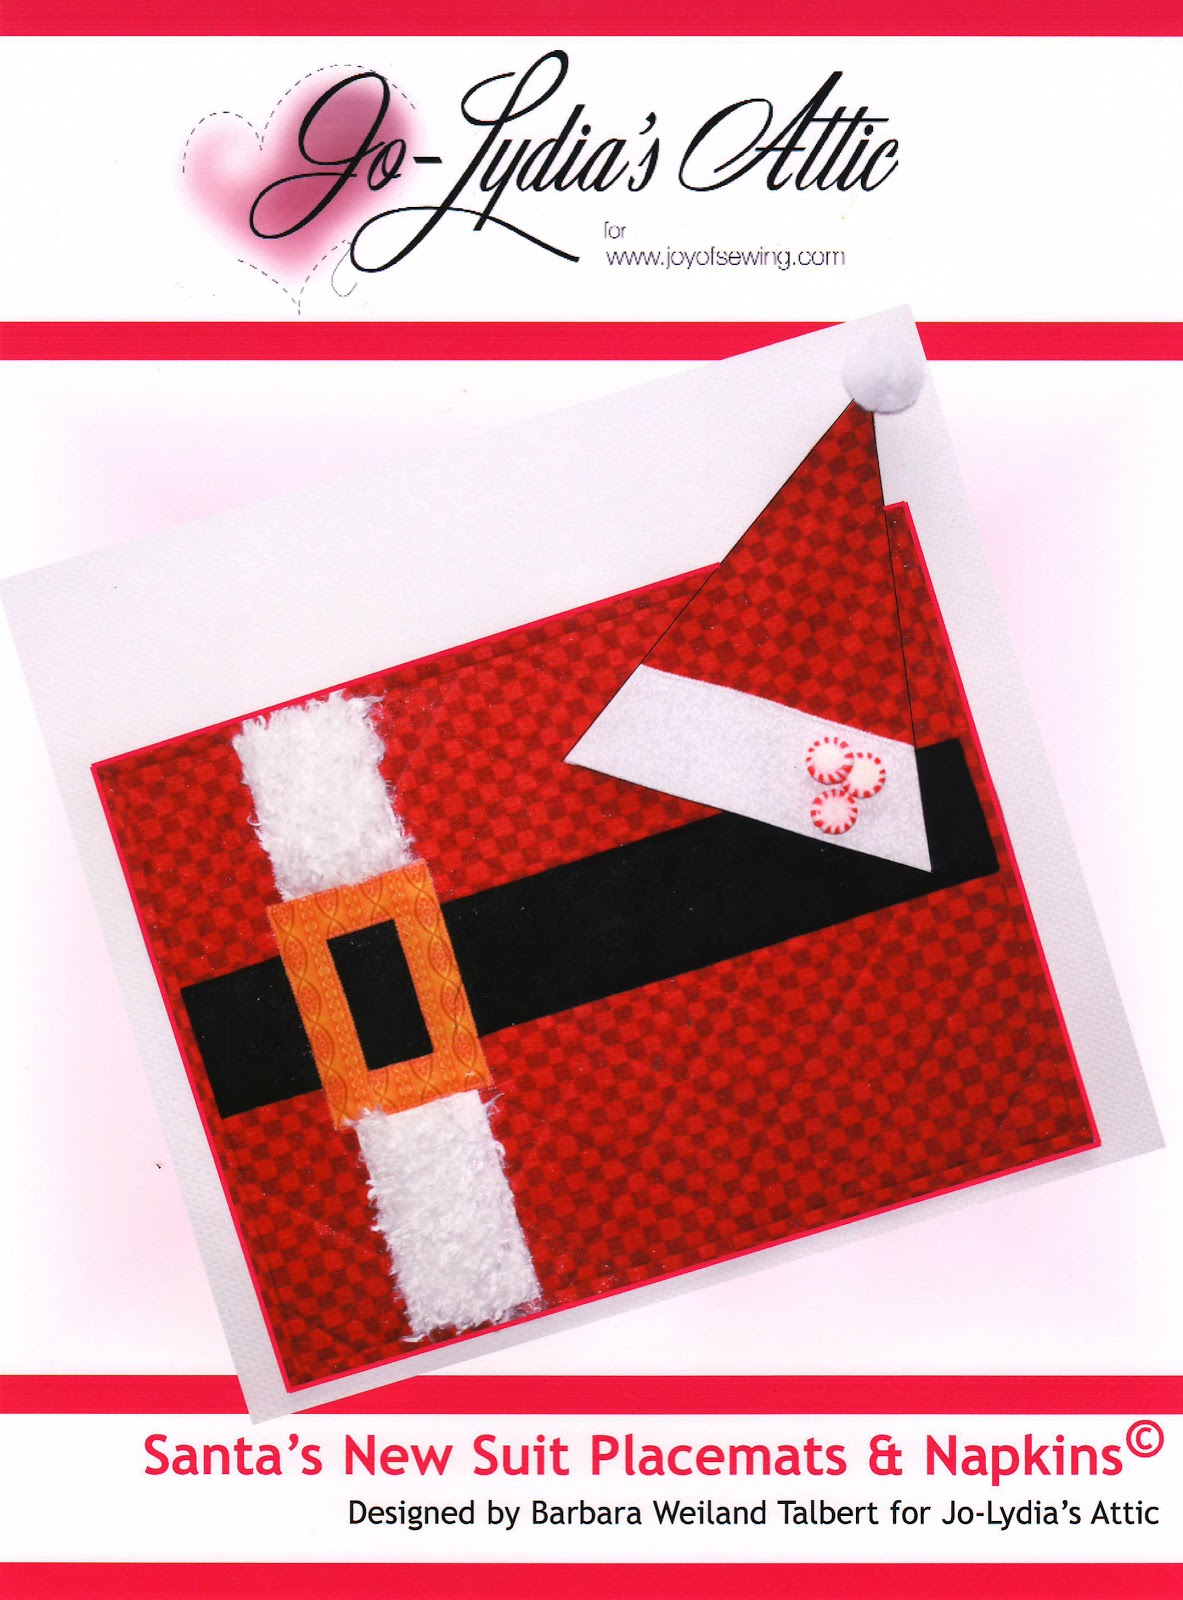
to start your holiday sewing. And, speaking of presents, why not stitch up a set of my placemats, Presently Wrapped, too? The napkin is folded to form the bow on these easy-to-sew mats. Or, if you love Santa as much as I do, check out Santa's New Suit placemats with a napkin designed to look like his hat.


And, if you're looking for an easy Christmas wall hanging to deck your holiday halls, I think you'll love A Heartfelt Christmas. It features easy piecing in the background and fusible applique. You can add embellishments to the tree if you wish for a truly one-of-a-kind tree!

These projects will keep you busy with holiday sewing and they're easy so you're sure to get them done in plenty of time for Christmas...if you start now.

Until next time,
Happy Holiday Stitching
Barbara

Wednesday, November 6, 2013

Sew Pretty Sew Easy Tote Bag--Great for Gifting

Sew Pretty Sew Easy Quilted Tote Bag
I wanted to design something pretty and practical and this little tote bag was the result. It's a great "scrap buster" project--each of the four fabrics required for the piecing and the lining require 1/2 yard or less. Add a bit of lace--three yards will be more than enough--and some polyester fleece and you have a finished bag in no time. It has simple square corners and two side seams that are bound for a neat finish inside and out. A hanging pocket inside is the perfect place for your phone, a pencil or other small items to keep close at hand.

The sewing is fast and easy. Polyester fleece between the two fabric layers adds just the right amount of body and requires only minimal quilting. I did a simple grid of squares in the center panel only, plus the stitching that holds the trim bands in place adds straight lines to anchor the pieced panel to the fleece and the lining. All pieces are cut across the width of the fabric so there is no bottom seam. It really couldn't get any easier to make it.

Sized at 15" tall and 13-1/2" wide, the tote is the perfect bag for book club meetings, quick errands--or even to hold a small knitting project. With Christmas coming, this is the perfect for anyone on your list who loves bags. You can make several in one sitting--and you might just have the makings for all of them in your fabric stash. I made mine in just a few hours, once I had the design finalized. While I love floral prints and lace, other fabrics will work too. Go bold with a bright modern print and eliminate the lace for an entirely different look.

Like all of my patterns, you'll find this one in my Craftsy pattern store at: http://www.craftsy.com/user/153303/pattern-store

I'm headed back to the machine to whip up some Christmas-themed mug rugs. I had such fun making the ones for Halloween, that I just had to get back to designing them. I'm getting pretty good at designing appliques in Electric Quilt--I don't do well with pen and paper, but EQ has made an "artist" out of me! Read my previous posts to see my "ghoulishly easy" Halloween mug rugs.

Hope you're having fun getting ready for Christmas--my favorite Holiday. I'm ready to start sewing gifts--after I finish a set of mug rugs!

Have fun sewing, quilting, and crafting.
Until next time,
Keep on sewing and smiling!
Barbara

Monday, October 28, 2013

Mug Rugs...I'm Not Done Yet!

My sewing room is a mess, my sewing machine needs to go to the Dr. (the bobbin won't come out--maybe it's just too tired!), and I need to start a new tote bag pattern. I'm tidying up today, but there are more mug rug designs on the drawing board for sure!  I made two more this weekend and posted them to my http://www.craftsy.com/user/153303/pattern-store. And now I'm cleaning up the studio so I can begin another sewing "mess."


The Witch's Best Bonnet Mug Rug
First, I thought my first witch-themed mug rug needed a companion so here's her hat: The Witch's Best Bonnet. As you can see, the ribbon on her hat coordinates with the skirt in the companion, The Witch's Ruby Red Slippers. I think she needs a black cat (designed, but not stitched yet), and maybe a broom or a cauldron (yet to be designed).


The Witch's Ruby Red Slippers
"Owl" Always Love You!
I also made "Owl Always Love You!. He's a sweet little owl who wears his heart on his chest for all to see. Don't know why he looks so sad--maybe his sweetie left him? Change his eyes and his "look" will change, too

He's made in fall colors, but could be done in a multitude of color schemes.

I hope you will check out all my other mug rug patterns at http://www.craftsy.com/user/153303/pattern-store
as well as my totes, accessories, and quilts.


Until next time,
Keep on sewing and quilting and crafting!
Barbara

Thursday, October 24, 2013

Calling All Gouls! A Pattern Set of Halloween Mug Rugs

I just spent the past few days combining four of my Halloween mug rug patterns into a set and creating a new pattern for it. Calling All Ghouls features Perky Pumpkin, A Ghoulish Scream, Frankly Frankenstein, and Dracula, My Darling into a 15-page pattern, complete with full-size templates for easy fusible applique and foundation piecing. Combining four in one pattern lowers the pattern price, too! Individual patterns for each of the designs are also available--check them out at my Craftsy online pattern store: http://www.craftsy.com/user/153303/pattern-store


Four mug rug designs in my 15-page pattern.

I had such fun creating each of these designs. The stitching time is minimal and you may already have everything you need in your scrap and fat-quarter stash to make a set. While you're at, maximize your time and make two sets--one to keep and one to give away! 

Hope you'll have fun making one or more of these little "ghoulish delights!"

Check out all of my other Halloween projects by reading the previous blog entries that follow. I've been having such fun!

Until next time,
Have fun sewing, and quilting, and crafting!